Simple Baby Play: Sensory Mat

Want a way to encourage tummy time? Want to encourage crawling? Want something fun for your child who is walking?
I know I found it hard in those early days coming up with and finding time for activities. I knew tummy time was important … well the nurses at the hospital certainly told me it was … but I had no idea how to get there and engage with my daughter to make it more enjoyable for us all. Look the reality is, we’ve all been there and the about, type or range of activities you do or don’t do does not indicate your value or ability to parent.
About this time I discovered the amazing play community on Instagram and the rest as you could say is history.
In one nap time I created this sensory walk that we used for months adding and changing the contents, love ideas that are quick, cheap and last! This is great for multi-aged play as it suits a range of ages and stages of child development.
Benefits for babies
Engaging for tummy time. Tummy time is so important for muscles development - check out Sian from Teach Investigate Play’s post for “5 Benefits of Tummy Time.”
Sensory experiences are the best way for little ones to learn and build those cognitive pathways - check out the Busy Toddler’s on “Why Sensory Play is important”
Provides a safe way to explore cause and effect as well as different textures and sounds
Promotes crawling
Benefits for toddlers
Gross motor exploration. Zara from Zara’s Play Tribe did something similar last week on Instagram and while she didn’t stick to the ground she said her children, jumped, stomped and woobled on it
Language development, as with most invitations to play you can build language into this. Consider prepositional language of direction, in front, next to and behind. Or descriptive language, crunchy, slippery, smooth.
Encourages whole body exploration including crawling. Crawling as so many benefits beyond a step before walking and encouraging this through play is great for toddlers and their brain development.
How to make a sensory bag
Materials
Iron
Towel
A3 Laminating sheets (I found this easier with using the iron but you can make them smaller)
Water (can add pom poms or colour here too)
Steps
Laminating pouches join with heat, however, be mindful of plastic on heat. We always placed a towel between the heat source and the sheet.
Place laminating sheet on ironing board and iron together 3 sides of the laminating sheet (leave a small side open)
Fill the pouch with your sensory play items (we just used water)
Put the open side on the ironing board leaving the rest of the pouch to hang off the side of the board
Ensure there is no water where you wish to join the sheets as this will then leak
Iron this side shut (use the steam function to help)
Test that no water leaks
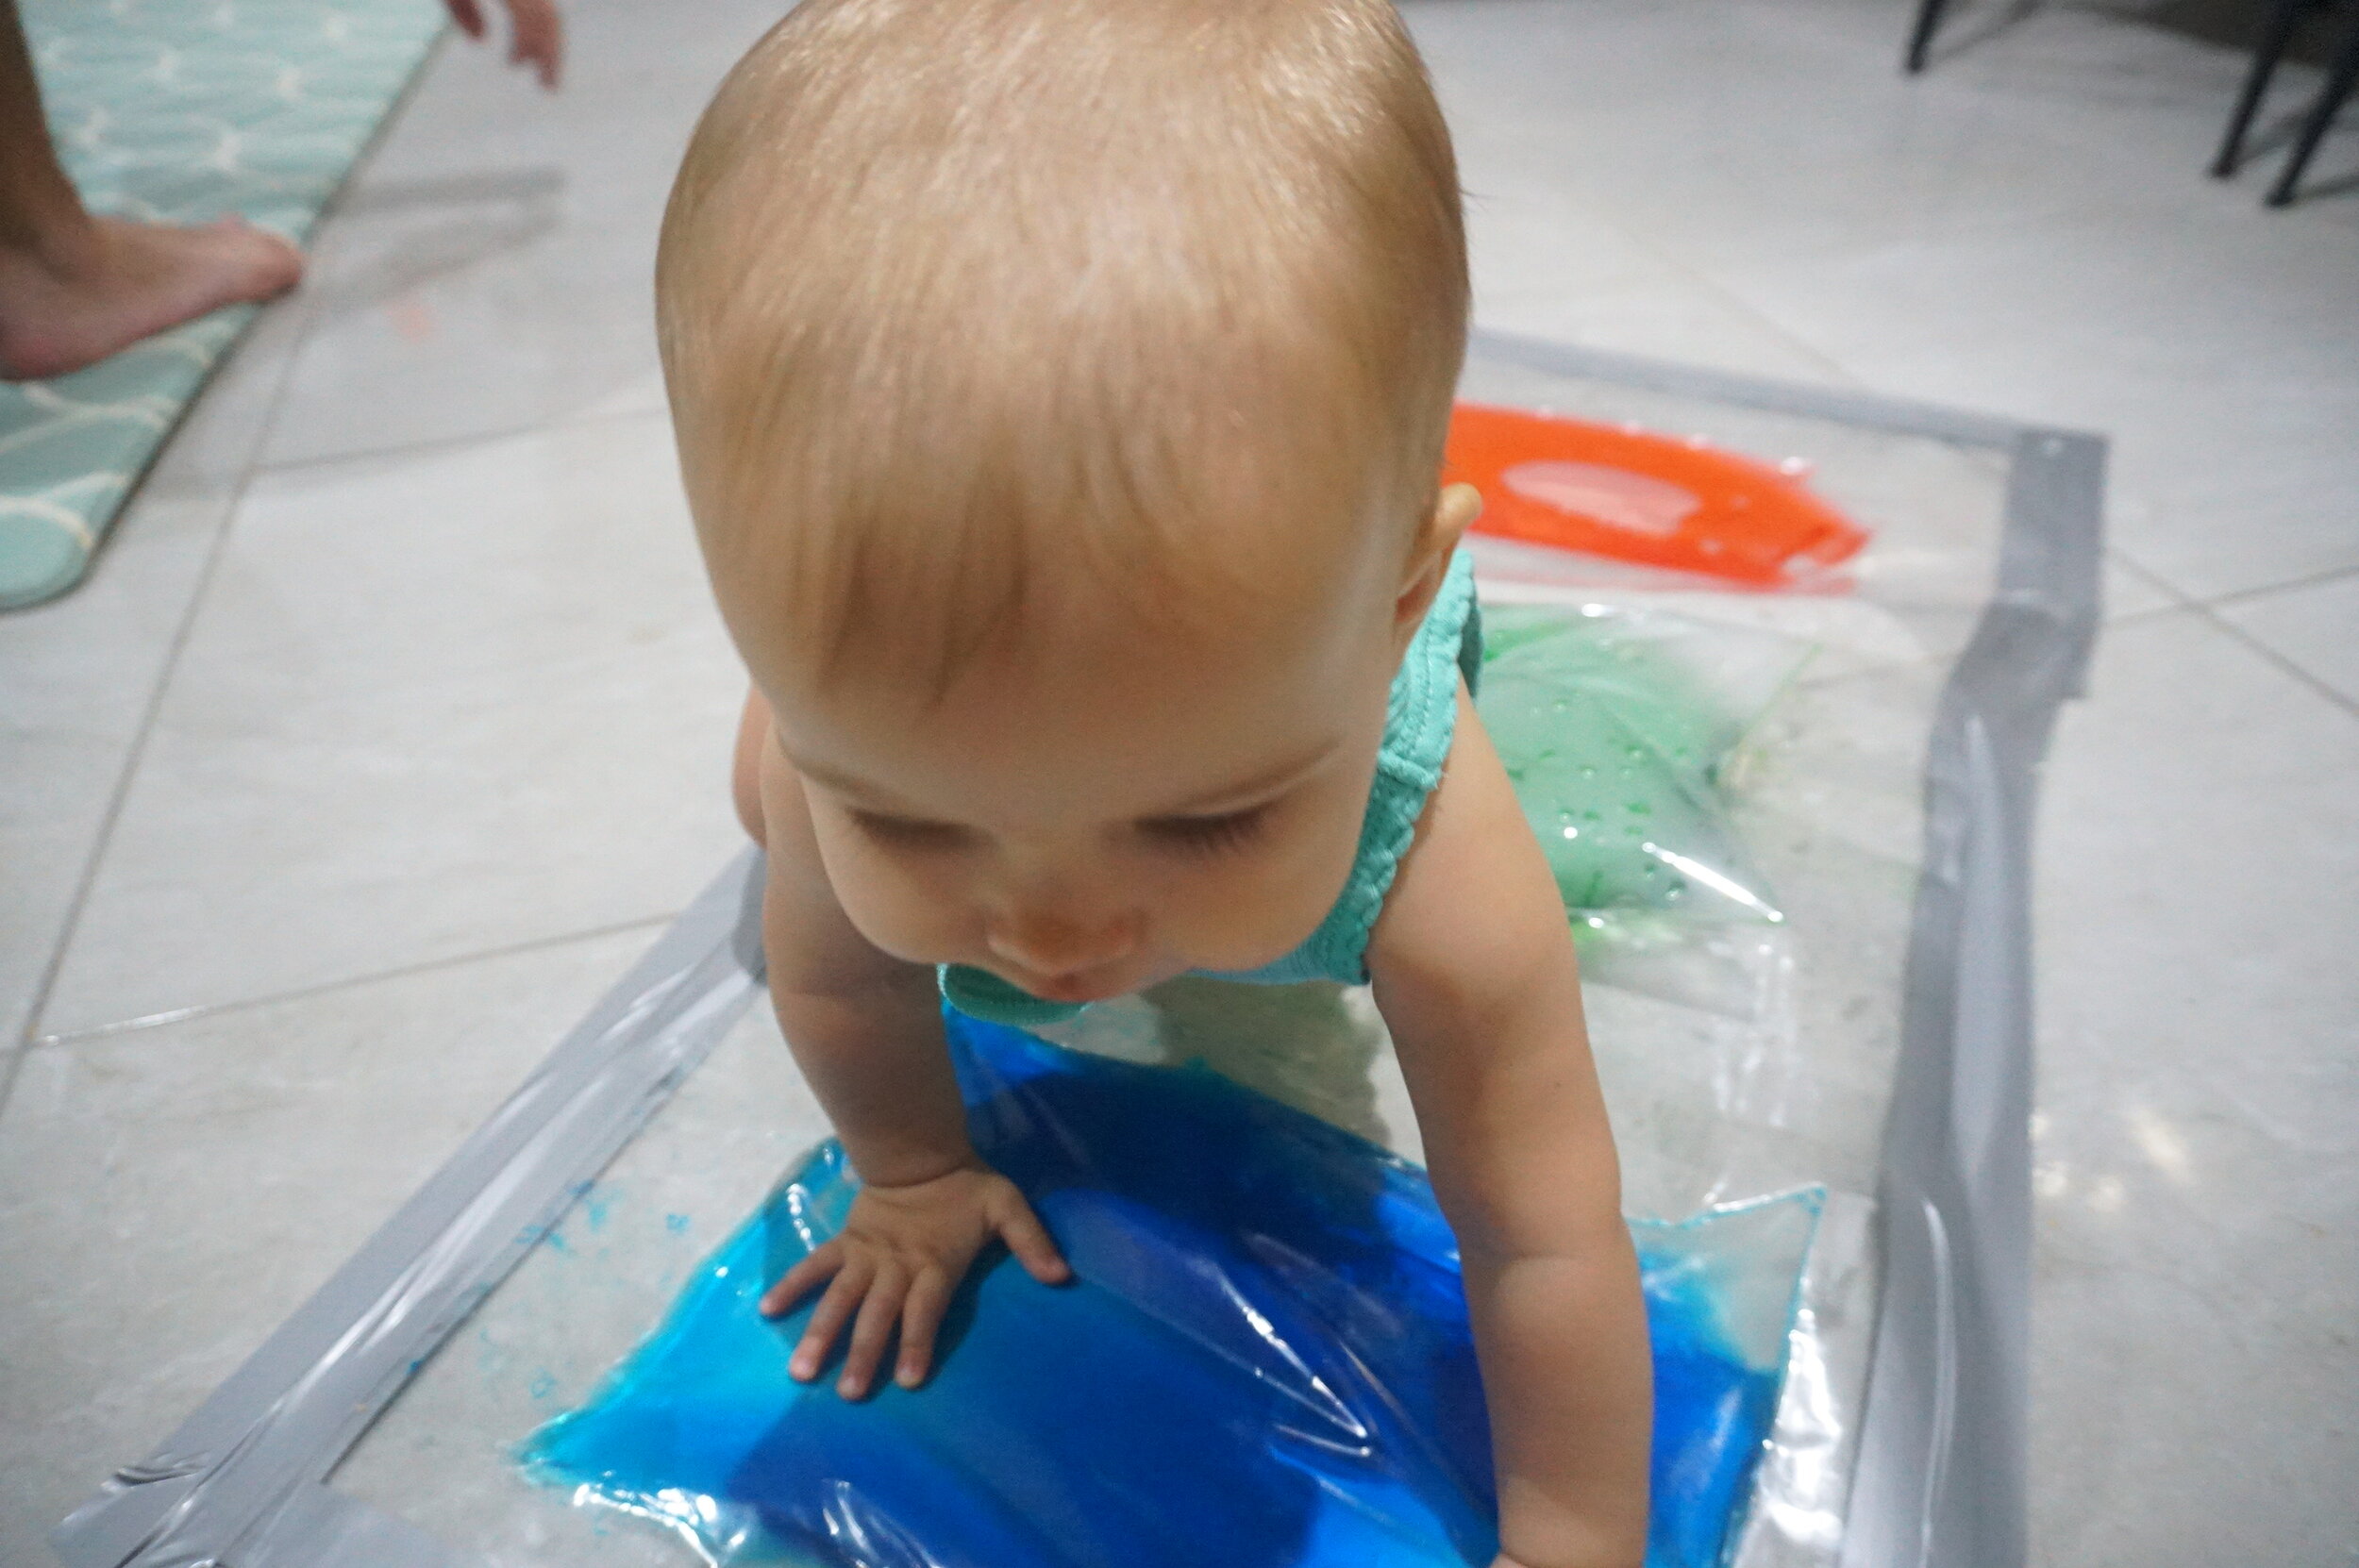
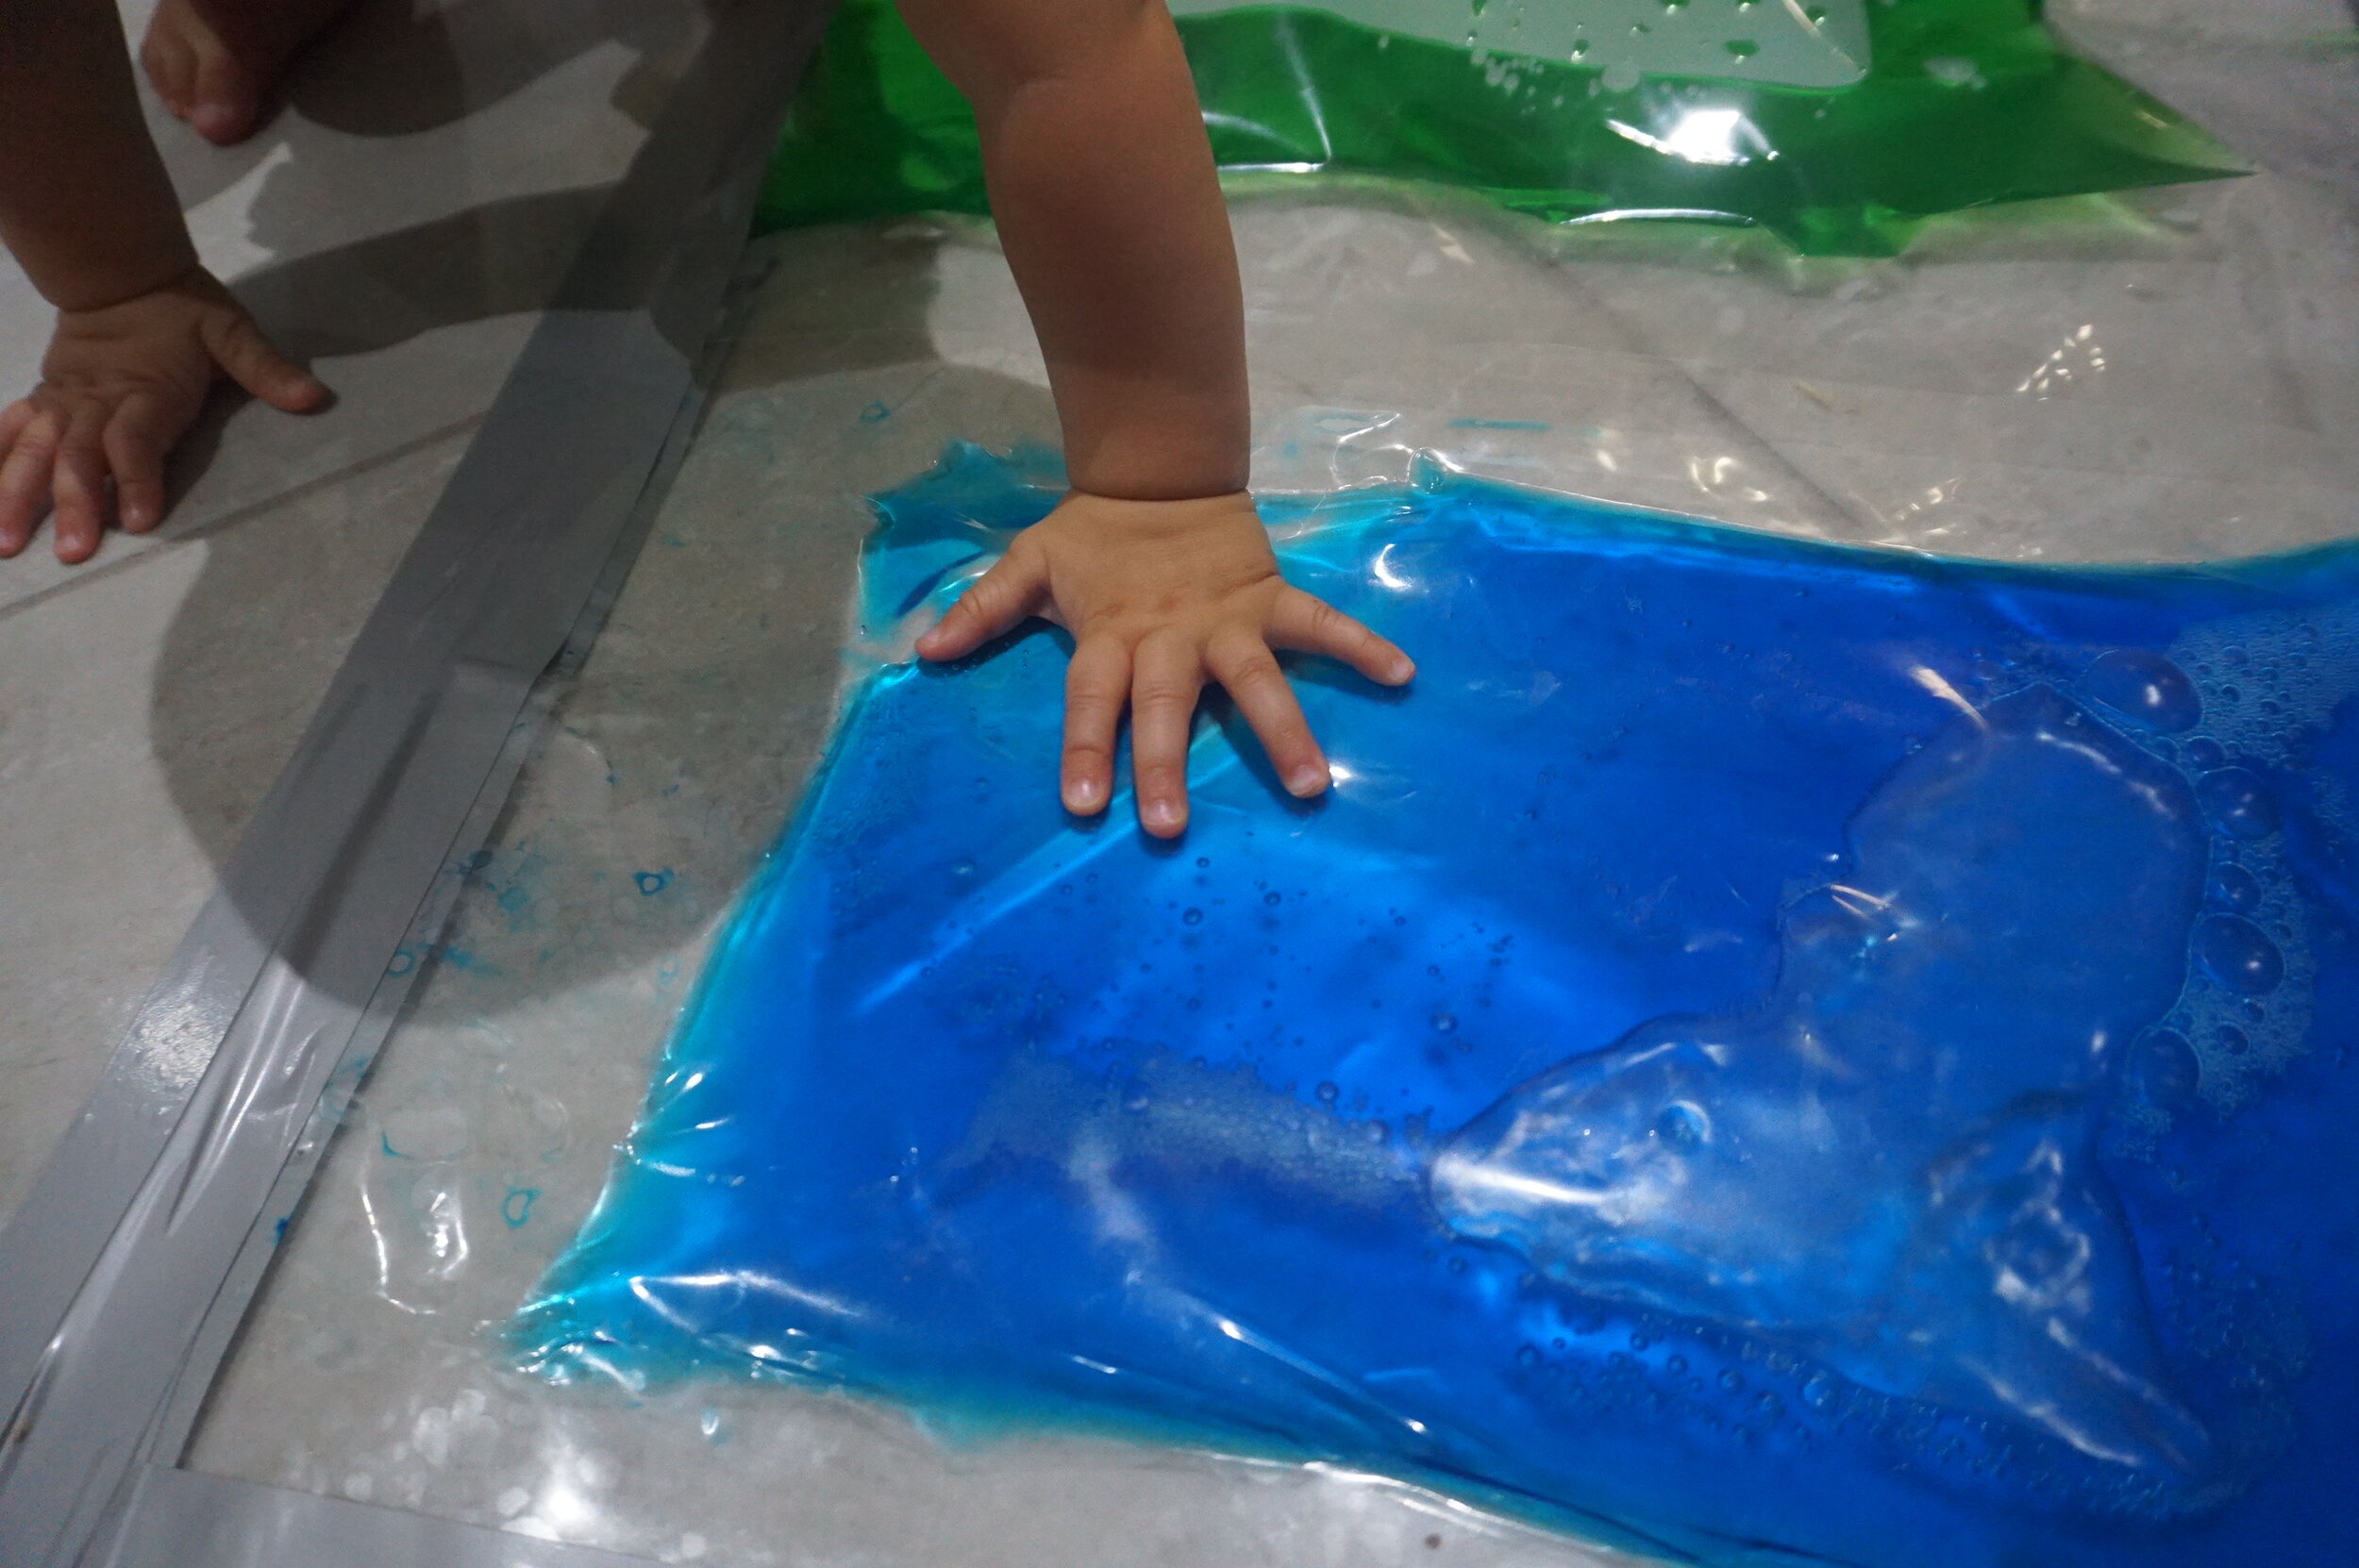
Set Up

We set ours up on the floor, sticking it down with duck tape. This was to slow any leaks … it worked most of the time.
You can set this up in any way or form, it does not need to be a set line.
In this example, we only taped some sides down and left others only taped on one side.
Plus some sensory bags here were made using zip lock bags.
Sensory Bag Fillings
Water
Tinsel
Hair gel
Oatmeal
Rice
Pom poms
Pasta
Glitter
Sequins
Buttons
Small blocks (we added these to the ones not fully taped down so she could explore small items safely)