7 Simple DIY Play Ideas for Posting to Inspire You
What is Posting? Why is it Important?
Okay, so you have seen ideas labeled ‘posting’ but have no idea what it means? Don’t worry, I was there too. I had no idea of the concept nor its importance but now I am loving it.
If you have a toddler, I am sure you are familiar with the concept, even if you have never used the term. Imagine this scene, you are trying to fold the washing (my least favourite job) and you child continues to pull it out … you find pens in the printer (yes this happened) or you find their bottle in their toy box. All of this is called posting.
This is children building their concept of objective permanence: the knowledge that even if I can’t see something it is still there. The concept of object permanence was first described by Jean Piaget and his stages of development, under this definition object permanence is a child’s awareness of an object once it is removed from sight. This is critical skill in an infant’s cognitive development and helps them build a complex understanding of their world including orientation and recognition of landmarks.
Another aspect of learning is within the schemas. These are skills that children have an uncontrollable need to complete, and posting falls within the ‘enveloping’ state where children need to put things inside of boxes, draws, containers and then find them again. This isnt seen as a stage p
Want more information about schemas? Check out 100 Toys recent blog post
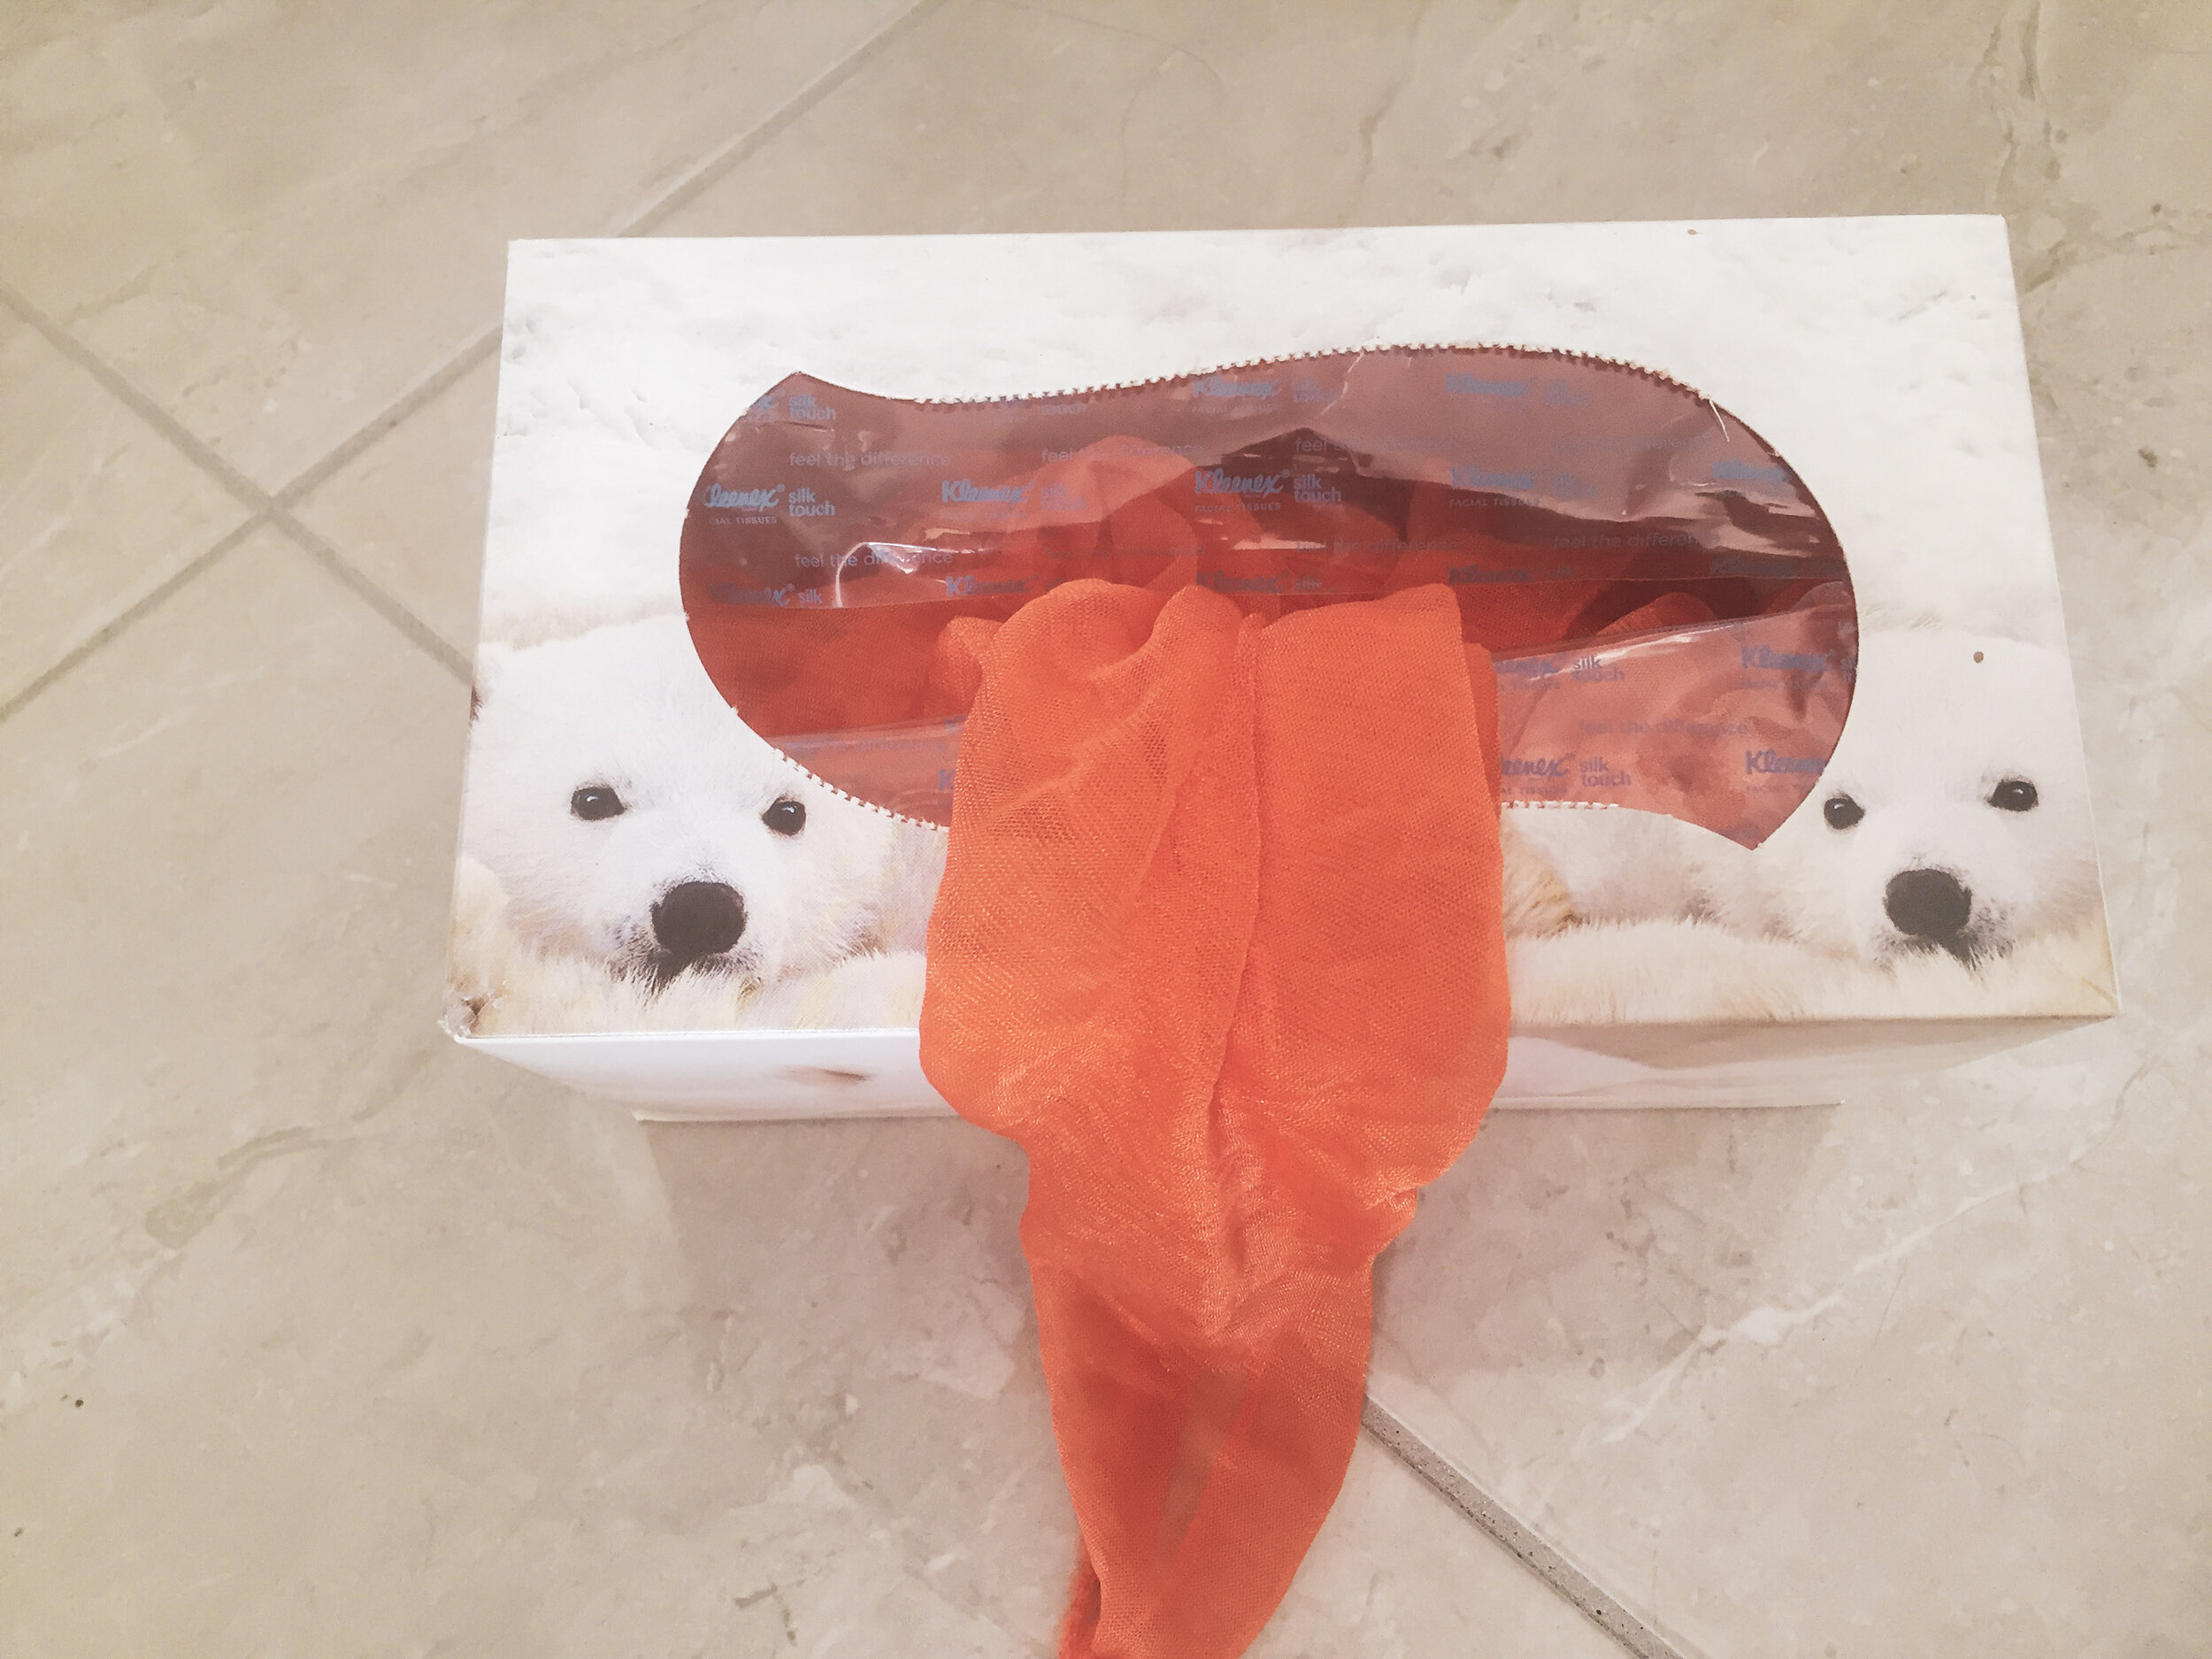
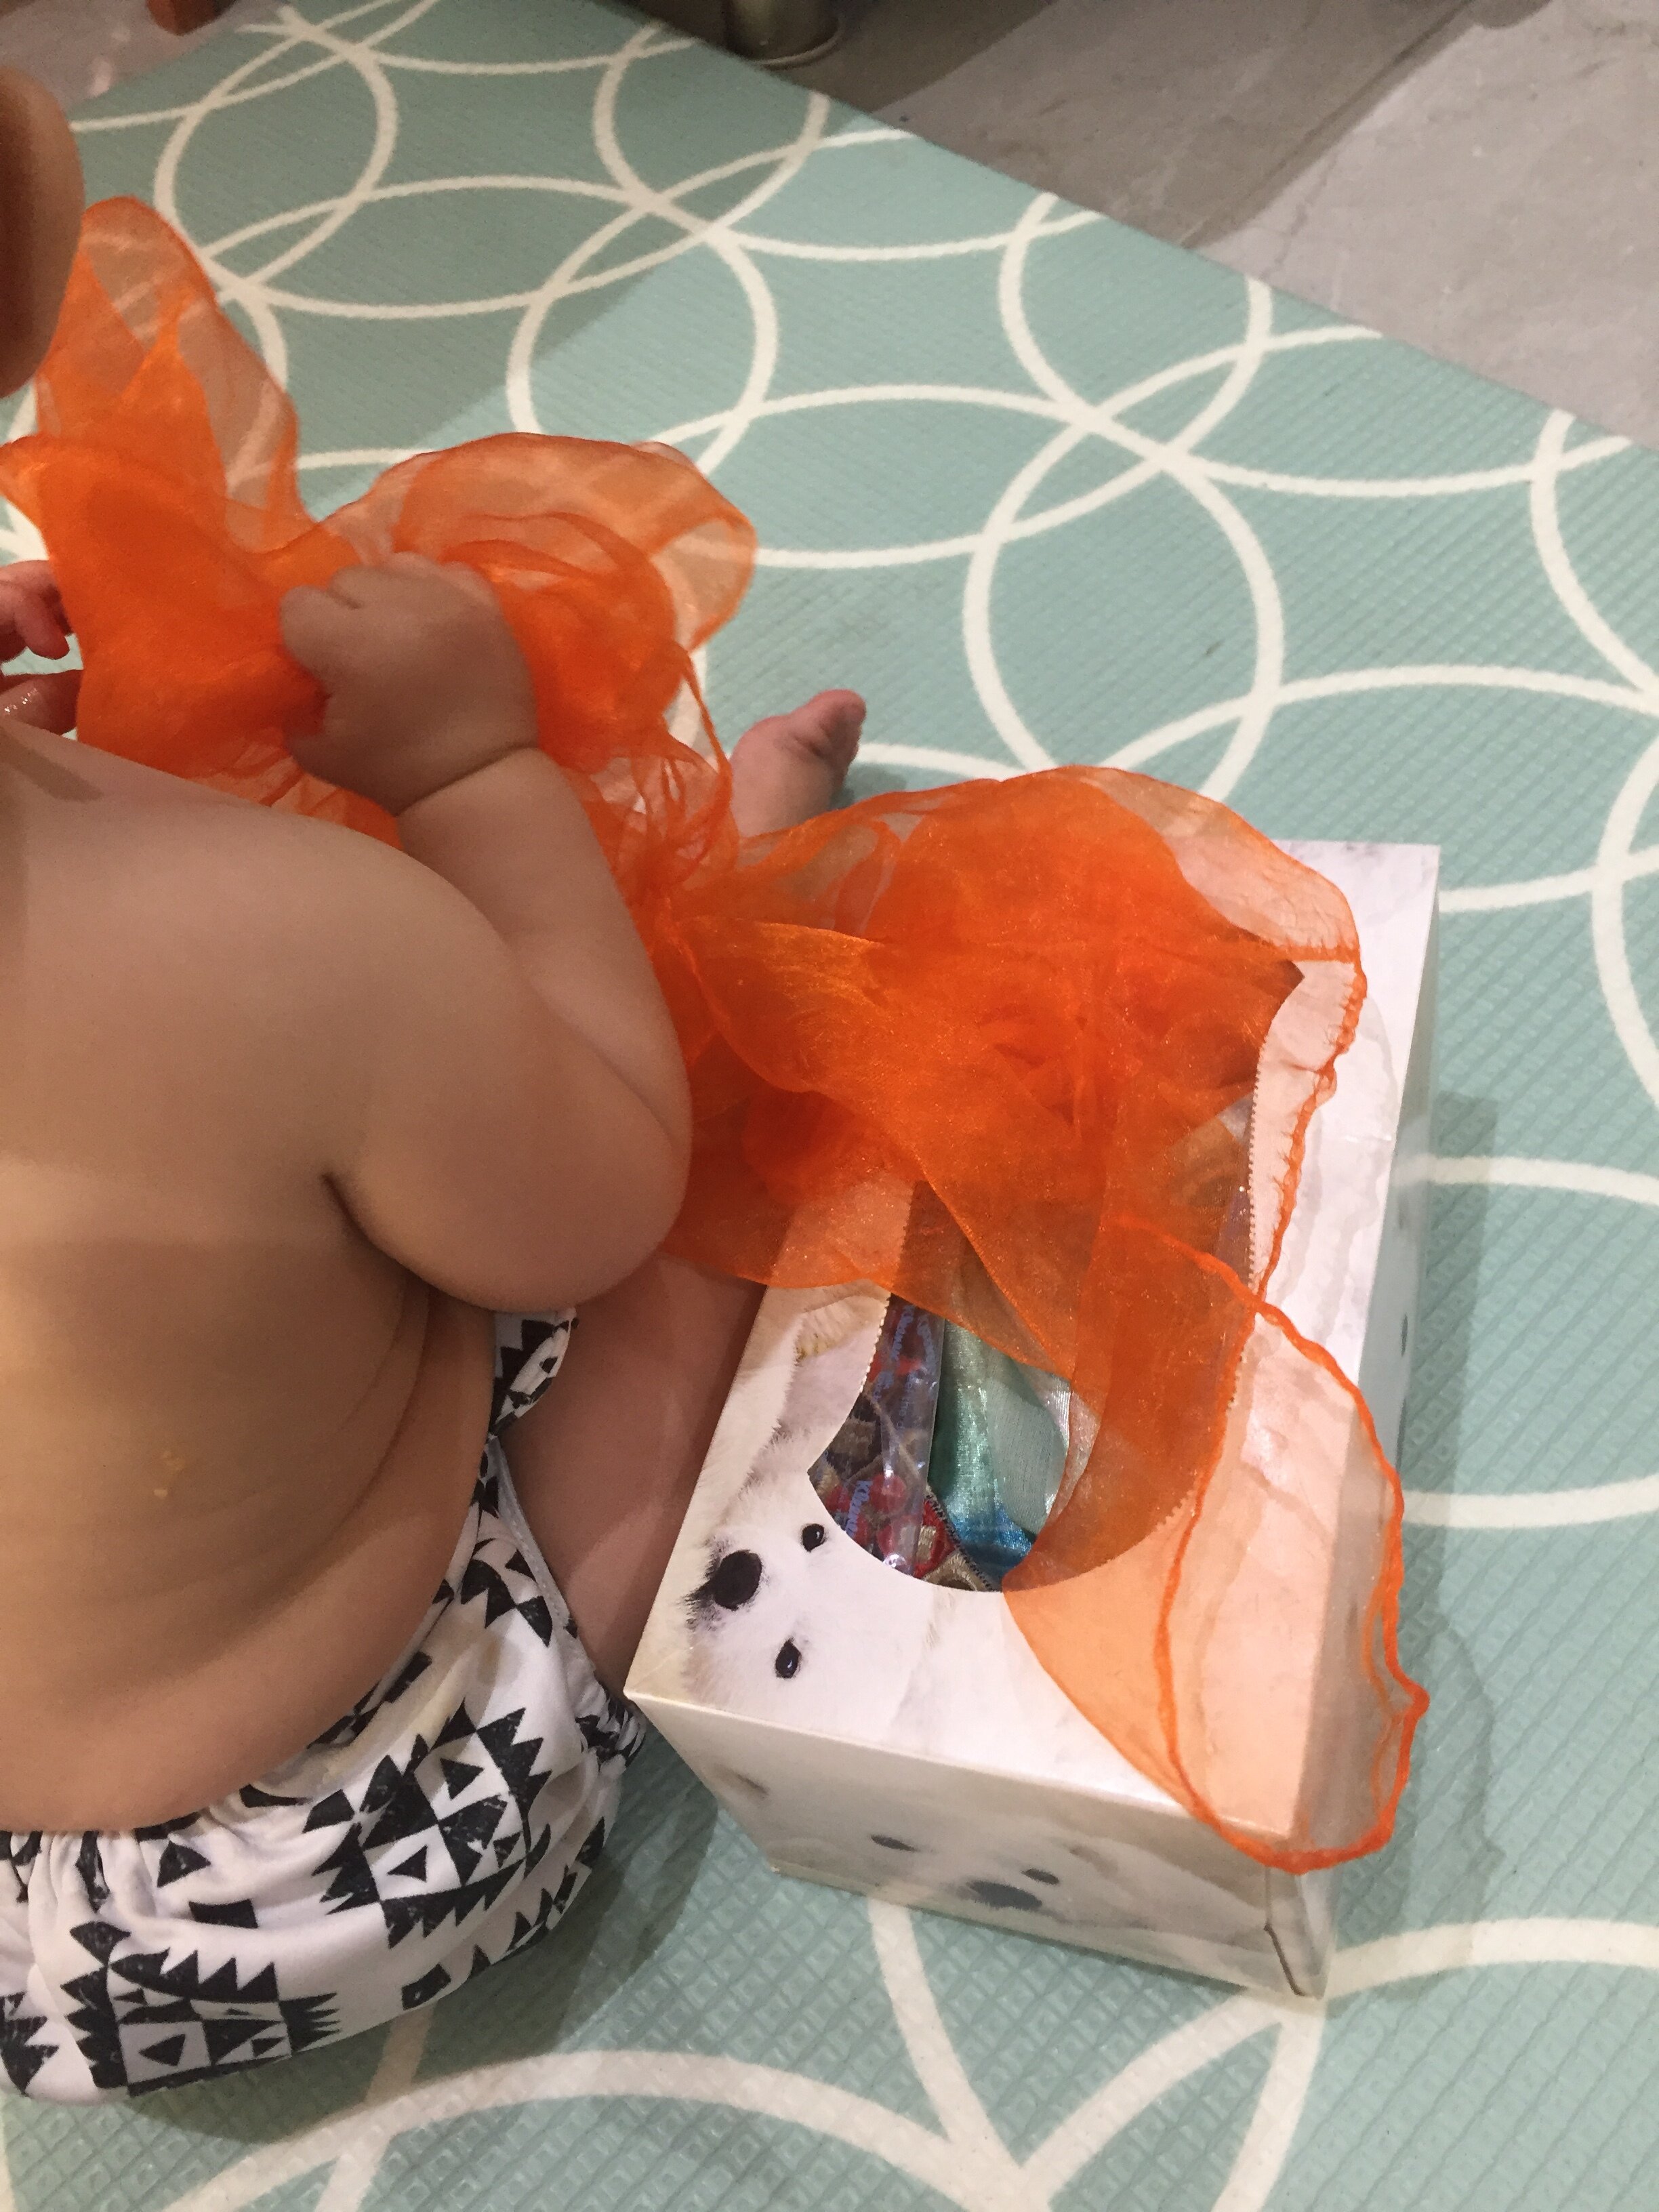
1. Tissue Box
You do not have to wait for your child to be sitting, this can work for tummy time! You also do not need any expensive toys to set this up! All you need is a tissue box!
To start with children will focus on the removing of items and as they build confidence they will begin posting! Items you can add include, scarves, fabric scraps, bubble wrap, balls, blocks. There is really no limit to this idea.
One of our favourite hacks with this was to tie the material together, creating a long chain. We then cut a whole in the bottom of it, put the end of the chain through the gap then tied it in a knot so the material could not be pulled out. This meant that the material was never lost! Which for me is a complete win!

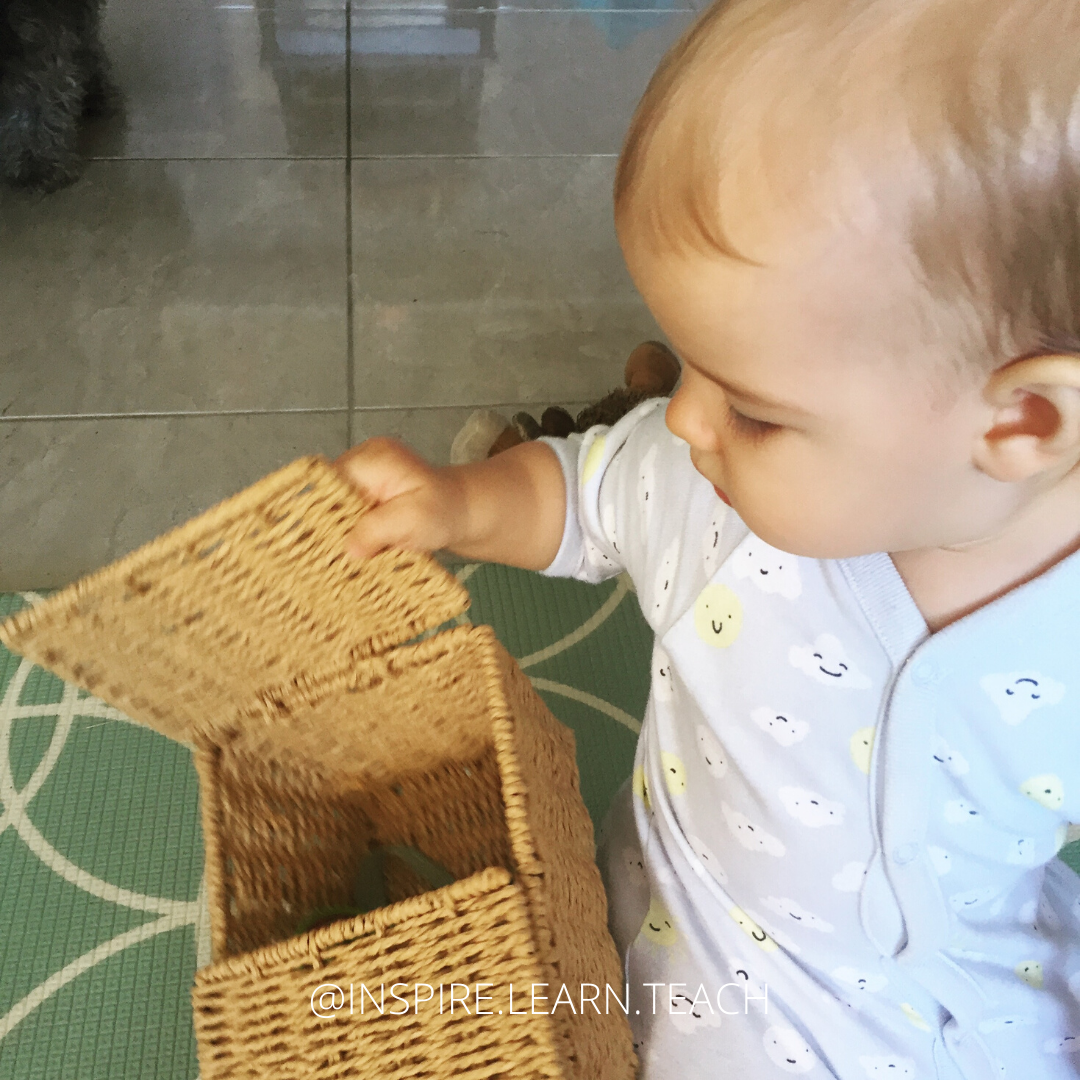
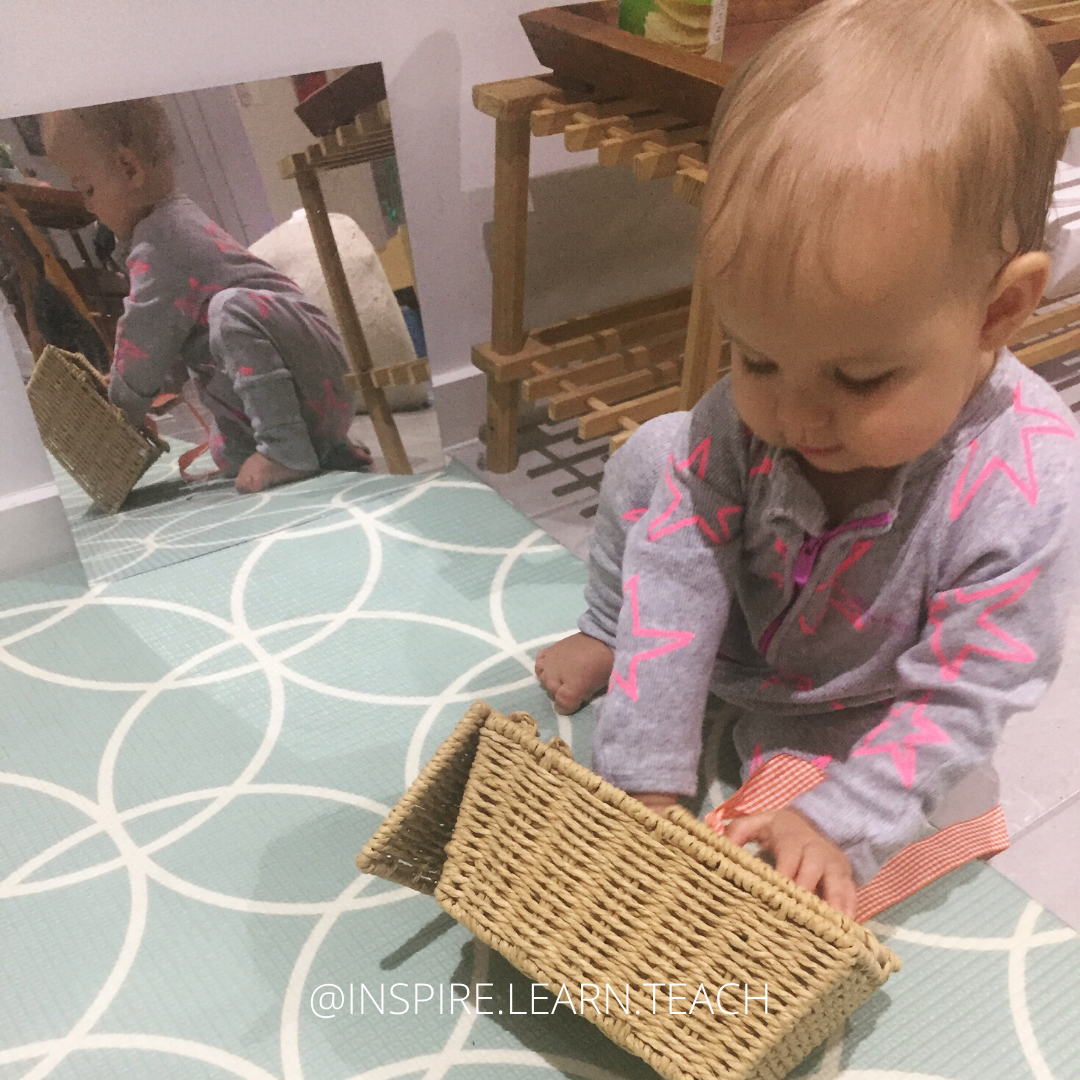
2. Baskets and Op Shops Finds
Don’t feel that you need to a DIY superstar nor do you need any fancy equipment ... some imagination and your local Vinnies (charity shop) When searching look for baskets with lids that open easily with a hinge for infants and younger toddlers (see below) Other repurposing you could try are
Go larger and find a washing basket with a lid
Go smaller and find a jewellery box (perfect for children who love to keep special things)
Op Shops closed? Dont have one near by? Check out
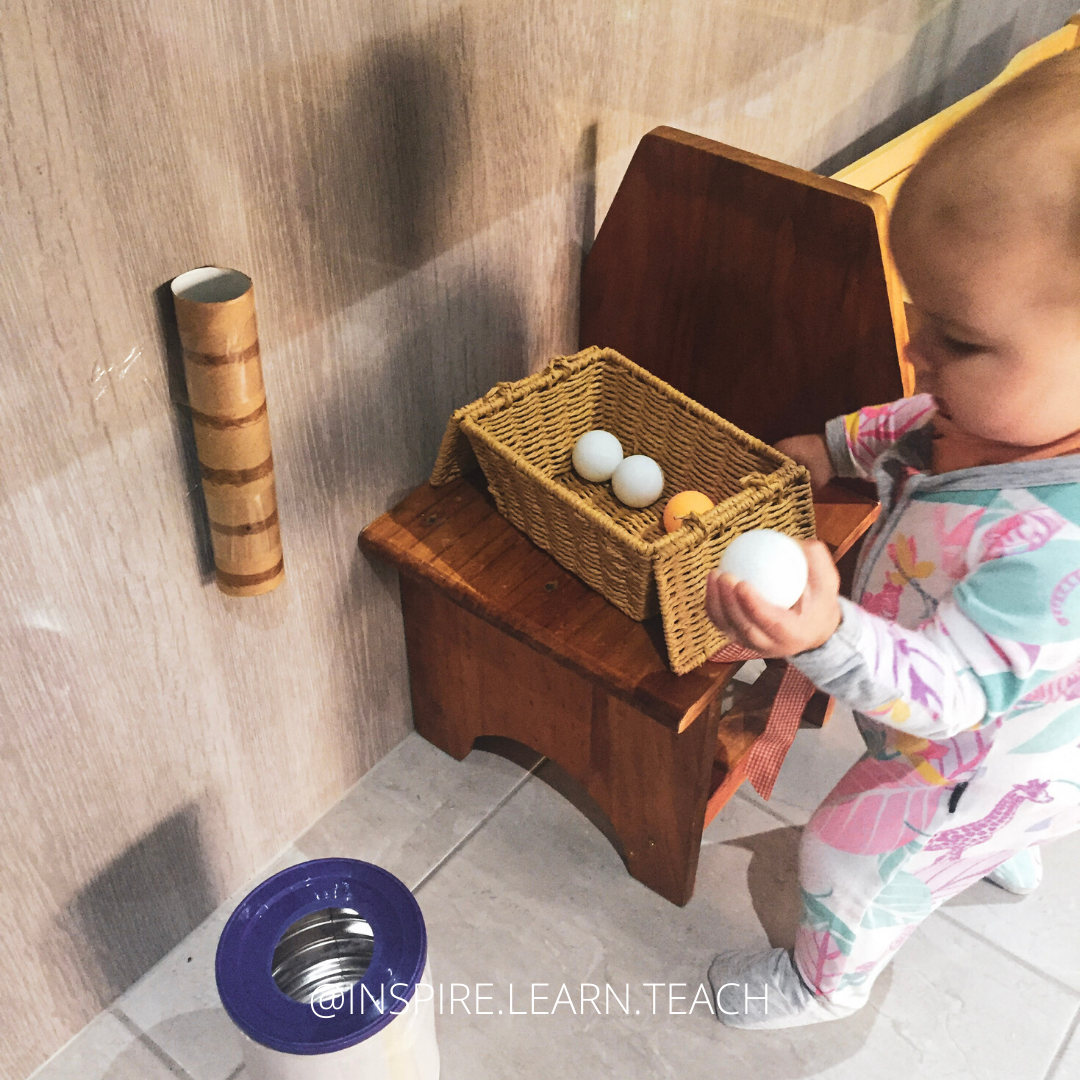
3. Toilet Paper Ball Drops
So we all stocked up on the toilet paper and now what to do with all those rolls ... ball drops are a great way to explore object permanence and for exploring cause and effect.
These can be as simple as taping a toilet paper roll to the wall, hand them a ball and place a basket at the bottom. Thats it!
Consider placing this at a height that requires them to stretch a little, whether that is at a seated or standing position. This allows for not only work on hand eye coordination, but also strengthens neck and back muscles.
So how do you introduce this to your infant?
As a first introduction at about 7 months, this was highly scaffolded breaking down the complex task in to smaller parts. First I set it up with Little Ninja watching, for simple activities this is golden, to gain her interest and spark her curiosity. I modelled the process from start to finish, then gradually released controlled of one aspect, the dropping of the ball. I continued to pick up the ball and handed it to her, and pointed to guide her. She then would get the ball and pass it to me to place in the tube and slowly we built to her squatting down herself, getting to ball and posting it. This is not a task I expected her to pick up by watching alone, nor is it a task I expected her to discover independently, however, I could have done that and would have placed the tube lower for easier access if I wanted her to be more independent.


Have an older child?
You can not go past Lisa from Life with Moon and Co. A teacher and a Mum, Lisa shares so many gorgeous play ideas and this one is one of my all time favourites. This builds up hand eye coordination, tracking, fine motor skills and is just plain FUN. Also, adding the step increases the complexity of gross motor skills too. She has created this using some boxes, masking tape and toilet rolls for hours and hours of play.
Have a child older still? Dont worry, make it with them! These ball runs really build STEM when made with your child and is perfect for those primary aged children learning at home.
Where to from here?
Well, there are so many variations of this!
Katie-Rose from Eat and Play Joseph sets up amazing simple learning invitations. She has set up an amazing toilet toilet roll ball drop by placing the toilet rolls on contact and a container at the bottom of the drop. This invites so much learning! I love how this allows for so much child directed play with options to work on sticking and removing objects, completing the ball drop and for colour matching with the pouch lids.
Jess from Learn and Bloom has a great pom pom drop in a washing basket using smaller items to build fine motor. I love how this is contained and if you dont want to stick on the wall this is the perfect alternative. Click here to see.
Caroline from Budding and Blossoming has a a DIY version that focuses on a clear panel to build comprehension of cause and effect, based on the idea that children can not always understand things they can not see so making the learning clearer.
4. Formula Tin

This is so simple but I never even considered it until I saw it somewhere else!
Step 1 - find an old formula tin
Step 2 - cut a hole in the top
Step 3 - celebrate a successful DIY attempt.
That is all there is to this!
For infants, consider ensuring that the hole is large enough for them to place their hand in and retrieve the item, also the wider the opening the easier it is to master. You could even start without a lid at all until they master this then add the lid with the hole to increase difficulty (check the tin has no sharp edges if you try this).
To increase the difficulty of our DIY formula posting activity we’ve increased the options. We added a yoghurt container as part of the invitation with a hole cut out for paddle pop sticks, poker chips that don’t fit in the yoghurt container (but do the formula tin) and two balls of different sizes with only one fitting in the formula container.
Choice can make a task more complex and a variety of materials forces children to problem solve and remember when to apply what knowledge and when. This transfer of knowledge from one familiar to another familiar situation will build towards being able to approach unfamiliar situations. To ensure that this works as a single task we have placed it all on the same tray in presenting it.
Another way to increase the complexity is decrease the size of the opening or the items you are posing to build fine motor skills. The smaller the parts the more supervision required and be mindful of small parts with children under 3.
Items to consider
Paddle pop sticks
Toothpicks
Blocks
Pom poms
Teething rings

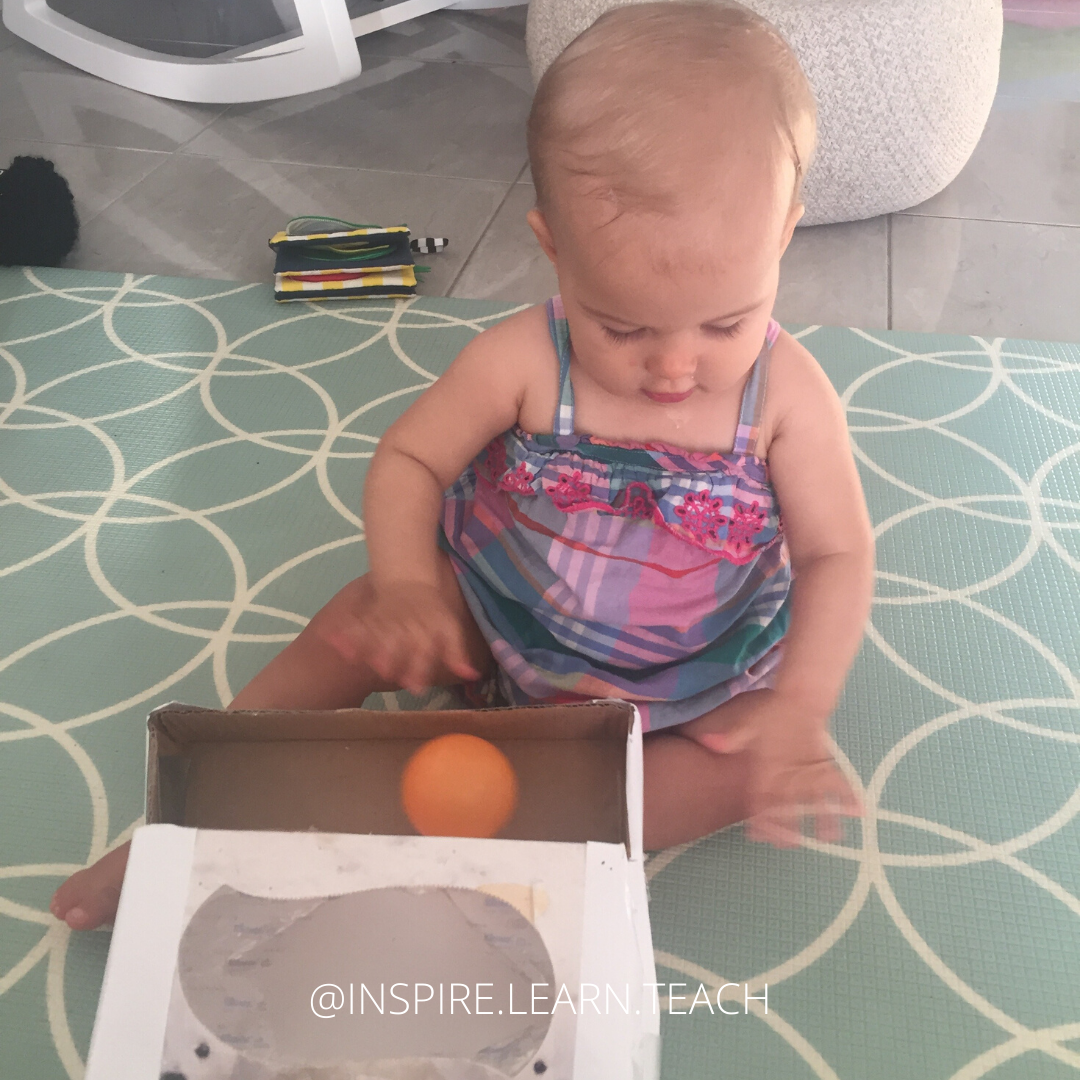
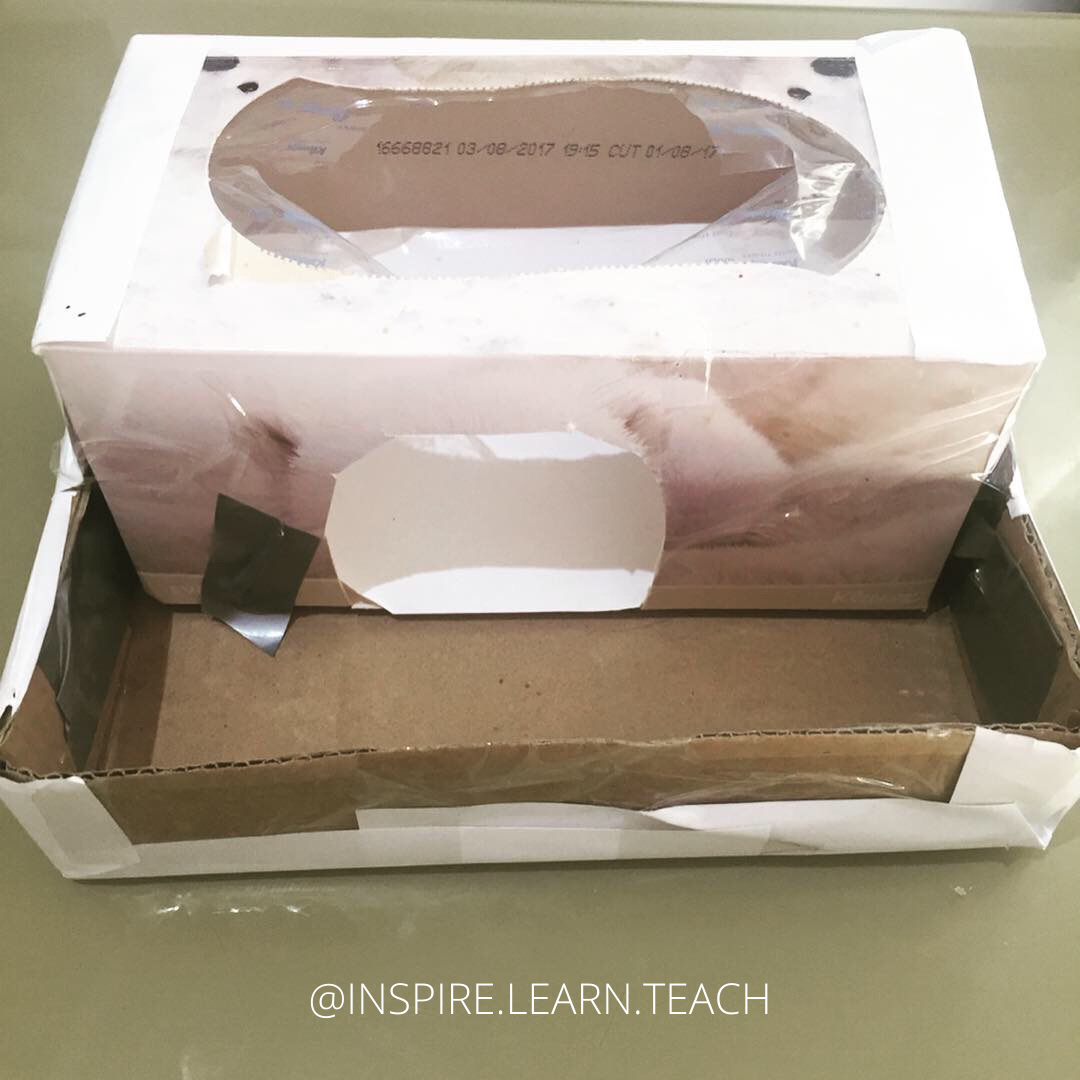
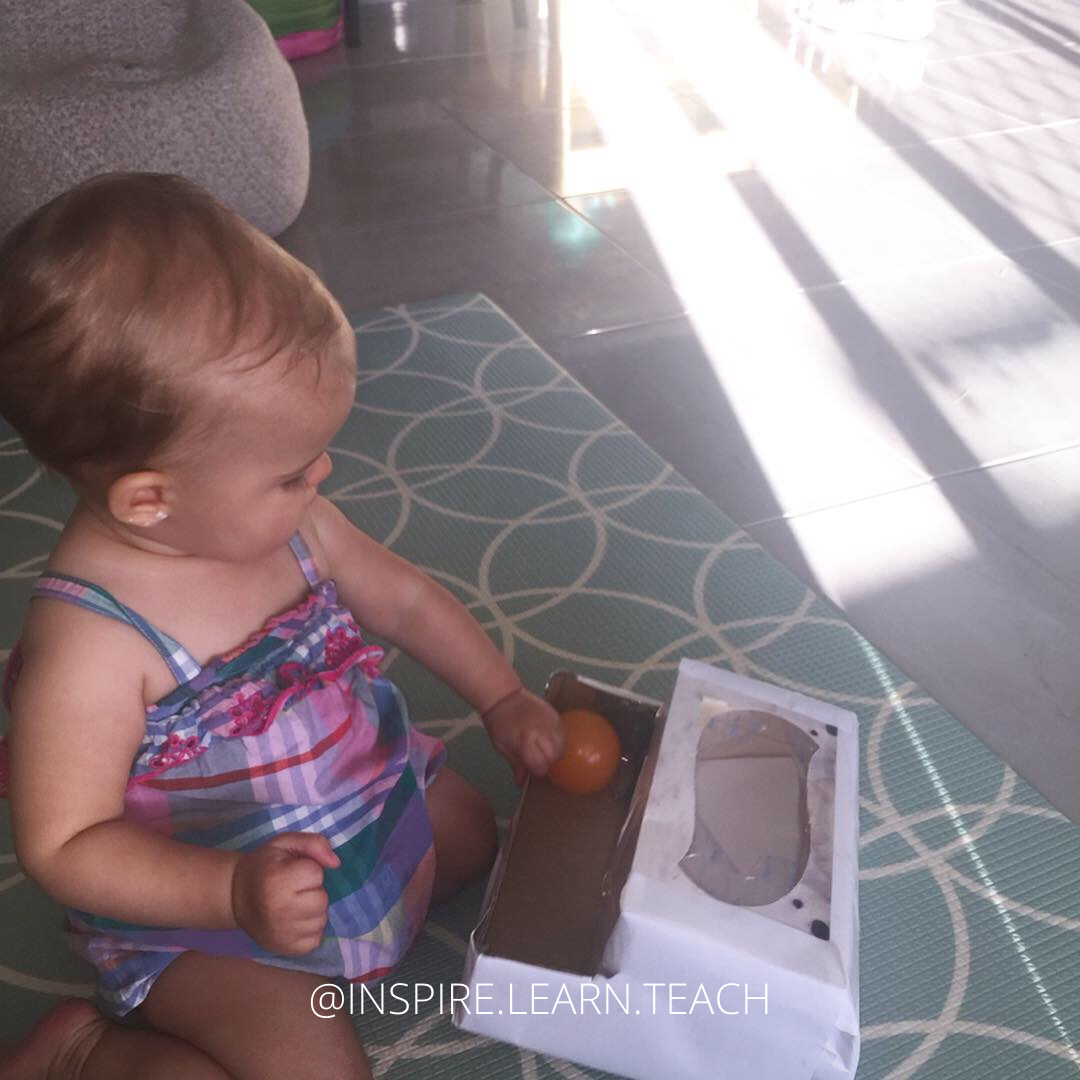
5. DIY Object Permanence Box
Okay so our DIY game isn’t that strong and this DIY is a clear example of that. I am positive there are prettier options out there and you can buy these, but let me tell you, Little Ninja didn’t notice how UGLY this was, nor did she care.
This is another simple idea that takes minutes to create … a pretty version might take longer.
Step 1 - Cut a hole in the side of the tissue box that is large enough for a ball to fit through
Step 2- Tape a piece of light card or paper on a diagonal inside of the tissue box (this will allow it to roll straight out)
Step 3 - Place tissue box into a larger box (if you do not have have one but have some card, cut each corner slightly on the diagonal, then you can fold the sides up and tape them to create a box), we used a box from some online shopping!
Step 4 - Tape the tissue box to the larger box
6. Coin Box

Do you have some smaller boxes laying around? This is the perfect step up from the formula tin. By using smaller items and a harder object to grasp, this invitation to play really focuses in on the fine motor skills. This DIY was inspired by Little Ninja’s desire to continually open and close boxes. By extending on her interests I was ensured success with this activity.
To create this I cut a slot in the top of a make up box and paired it with some poker chips, however, be mindful of these with small children and ensure supervision.
If I was to purchase coins to use with this you can not go past the Grapat Coins from Little Toy Tribe (not sponsored just love this store). I would go for these as they are slightly larger, thicker and recommended for children aged 10 months+ so could work with younger children (still under supervision)
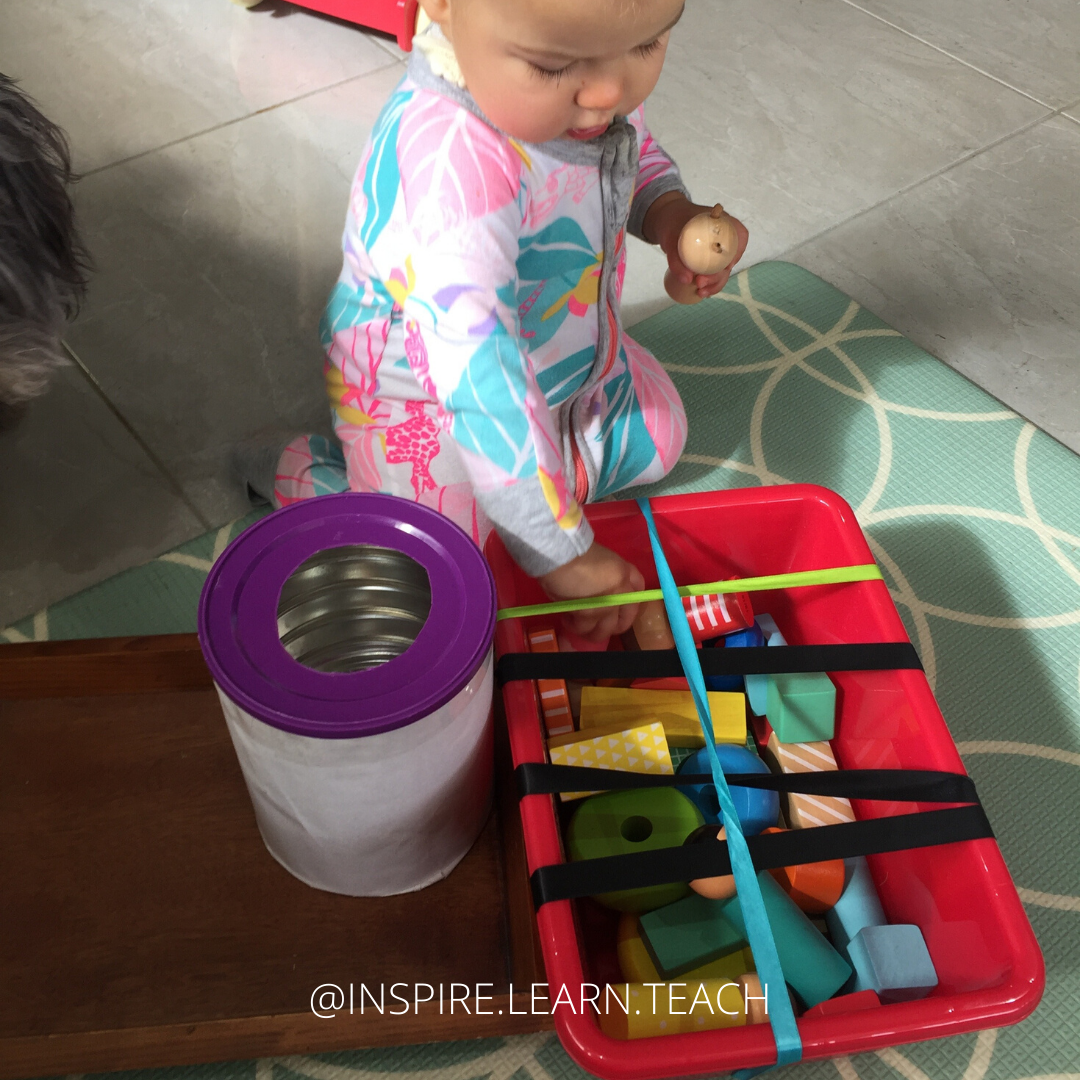
Don’t have a box but have online shopping? Kmart Coin Box - So this is a cheat and not really a DIY but there are so many uses for this and it is so easy to adapt! First thing would be to turn the background around as this is distracting. We have taken out some of the dividers to allow posting of playing cards, we have used paddle pop sticks and the poker chips. I have seen people complete this with colour matching, shapes with laminated and cut out shapes and coins for older children.
7. Large Scale
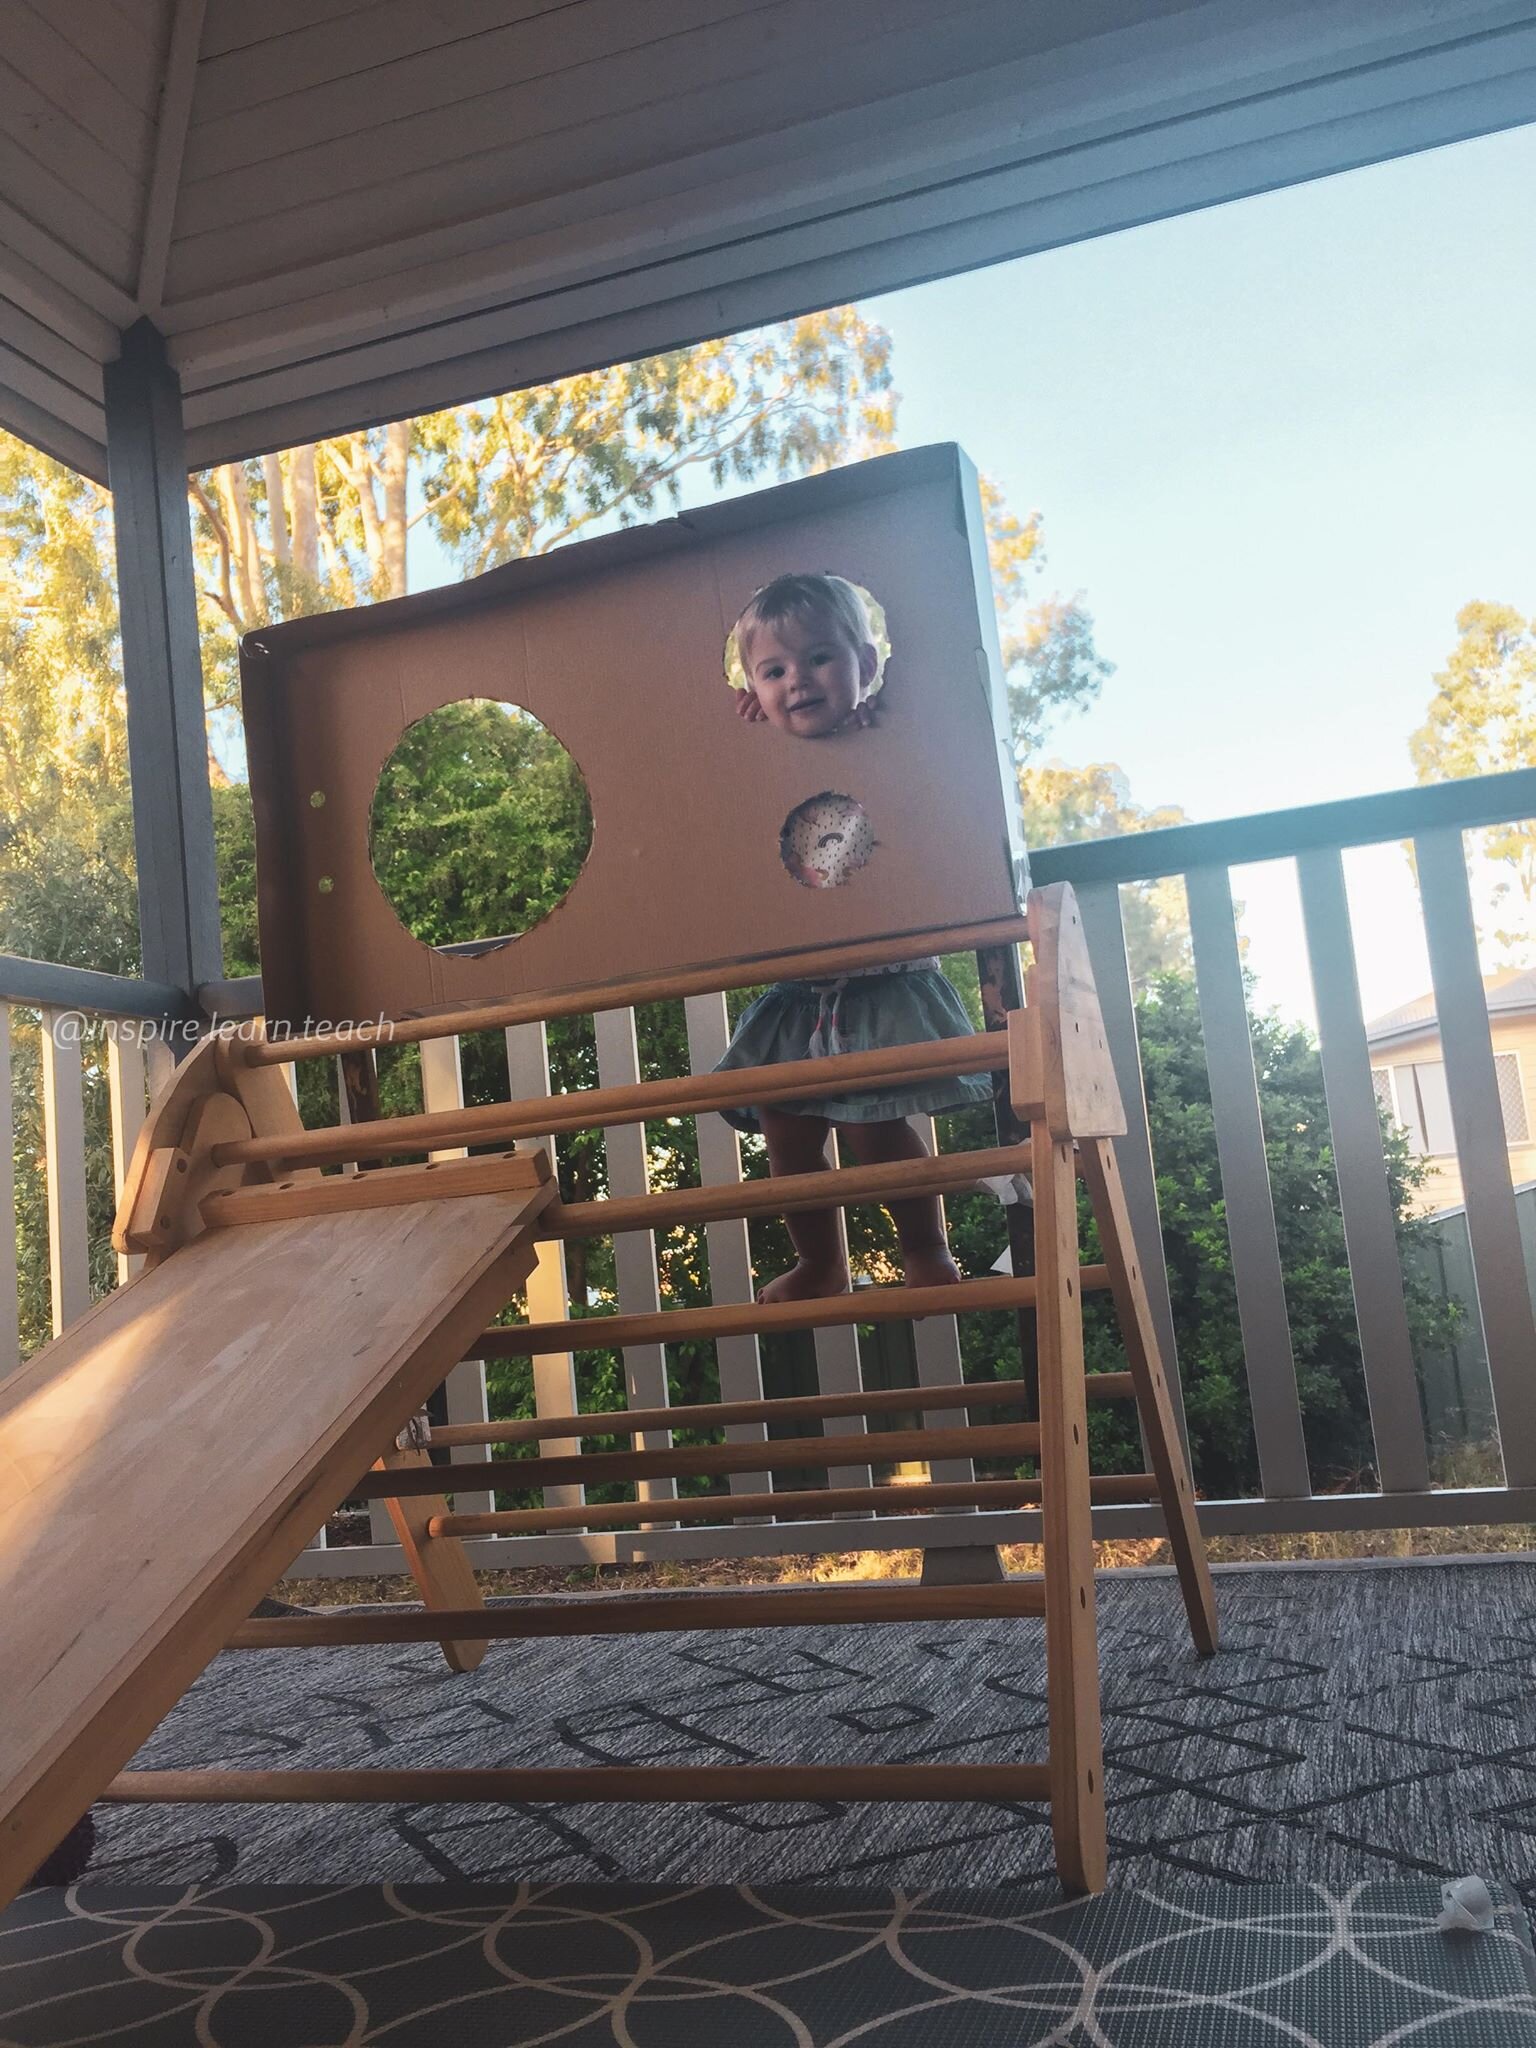
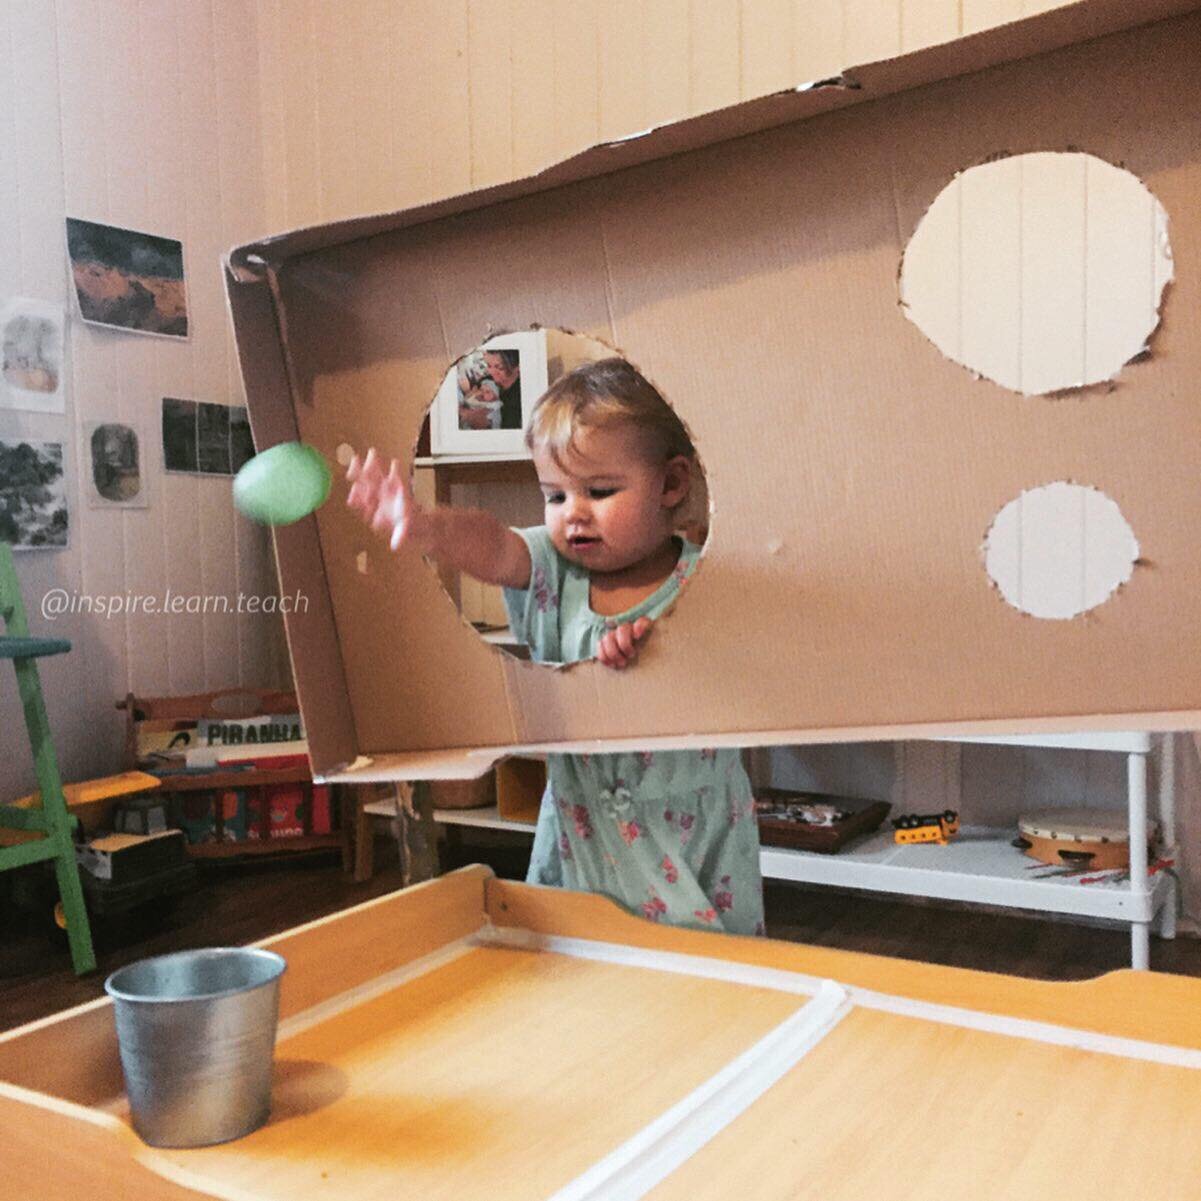
So I saw this idea from Zara at Zaras Play Tribe and had to give it a go! Now this was great for exploring size and posting but did not hit the object permanence, my next adaptation will be to place a box behind this for the balls to disappear to!
To complete this we cut a range of holes out at different sizes based on the balls that we have at home. I have thought of adding too some smaller holes for posting of smaller items as well.

What more learning in this?
Add some colour! Lisa Lou from Mummy Lous Crew took this to the next level and I can not wait to try this!
By adding the colour matching it makes learning fun and easy! She did say that her children decided to just play and throw the pieces through and there is nothing wrong with that !
This adaptation allows for object permanence as the items do disappear, and when I try this I am going to add an opening for Little Ninja to retrieve the balls.
Want More?
Check out Discover Play! Her ideas are so simple and easy to implement at home using what you have. This mama has inspired so much of our play as Little Ninja grows and I am consistently in awe of her set ups! Check out her formula tin using teething rings for transferring, colour sorting coin box, shape sorting box, and her different sized balls paired with her toilet roll ball run.
Also head over the Zara’s Play Tribe she has so many fabulous DIY play ideas and is simply the kindest and authentic mama! Check out her sorting box and I love how she has added some thongs to this sorting box. She has combined shape and colour sorting in this DIY, and this sensory activity is simply amazing with so much hidden learning.